It would be too easy to kick off the series of lectures supplementing my Python for Quants ebooks starting from Machine Learning (ML) as an innovation. ML-based algorithms pay dividends when your problem is fairly well defined and data allow to capture the patterns where they exist. Deep Learning (DL) goes one step into the future. It relies on more complex systems (inter alia: the neural networks) that study your input data mimicking human brain and deliver solutions in a form that can surprise you quite often.
For a quant working in finance, both in trading and in risk management, DL networks can be programmed and tested with a common purpose: to discover the relationships a human eye does not see or no one even thinks of. It was the case where DL-based algorithm started to play chess with the logic so bizarre that many current chess-masters described it as irrational! DL network does not think. It chooses best solution based on precedent learning experience. The same can be applied to quantitative finance and within this series of lectures I will try to teach you all to build your know-how on Deep Learning applied in quantitative finance.
In the age of massive daily data flows, an ability to use a computer as a quick learner is a skill. Deep Learning algorithms are not trivial underneath their skin, however with a recent release of TensorFlow 2+ library utilising Keras layers – a temptation to build a truly learning organism used to predict the markets has never been easier than today!
If you wonder how to start with Deep Learning – this post is for you. Using MacOS as an exemplary working operating system, I will help you to set up and adjust your current Python-based world to be ready for commencing your first DL project. Are you ready? Good! Here we go!
1. Download and Install Python 3.7+ within Anaconda Distribution
No matter are you new to Python programming or quite advanced in coding, Anaconda Inc. (previously known as Continuum Analytics) grew to a current position as a market leader and standard-provider when it comes to downloading and setting up a rich Python-based environment on your PC, Mac, or Linux. Simply speaking, if you want to work efficiently in Python then the use of the Anaconda Distribution for the most recent version of Python is the starting pack you are looking for! Simply visit this webpage, choose the operating system for which you intend to download your Anaconda Distribution, for instance:
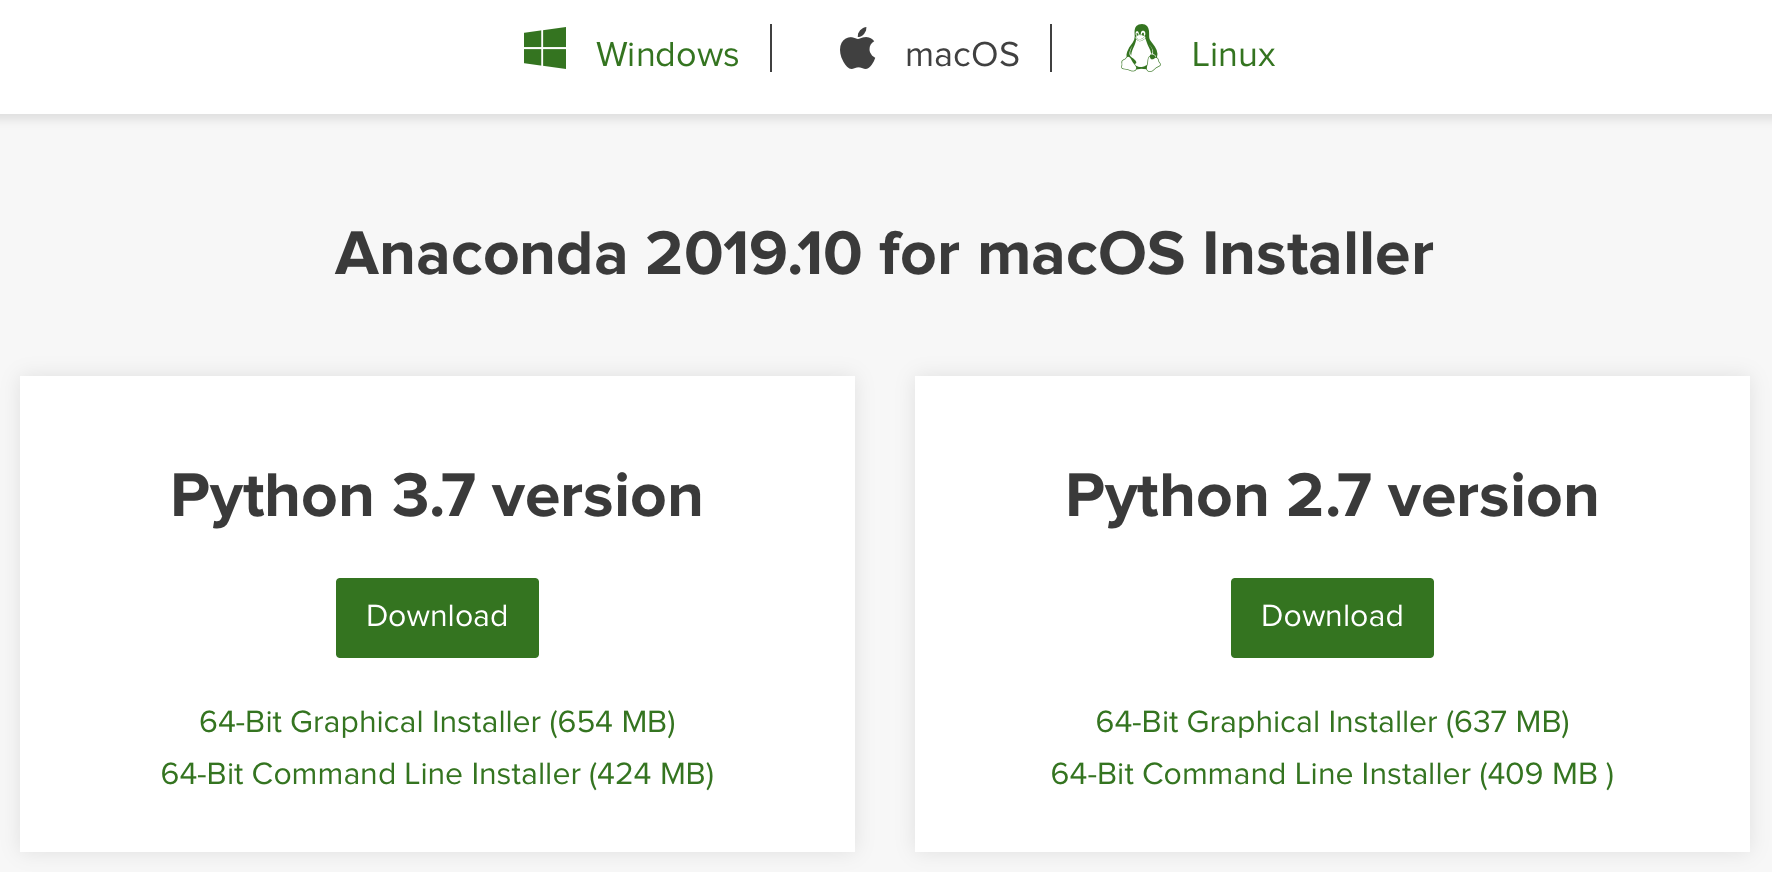
and (preferably) select the Graphical Installer of Python 3.7. First, it will start downloading the installation file, and next, when run, you will be guided through a few simple steps making the entire installation of the Anaconda Distribution on your local machine complete.
Once the installation process is done (here: ver 2019.10), you might inspect the local .bash_profile file located in your home directory (MacOS/Linux). The process adds a few lines, easy to spot:
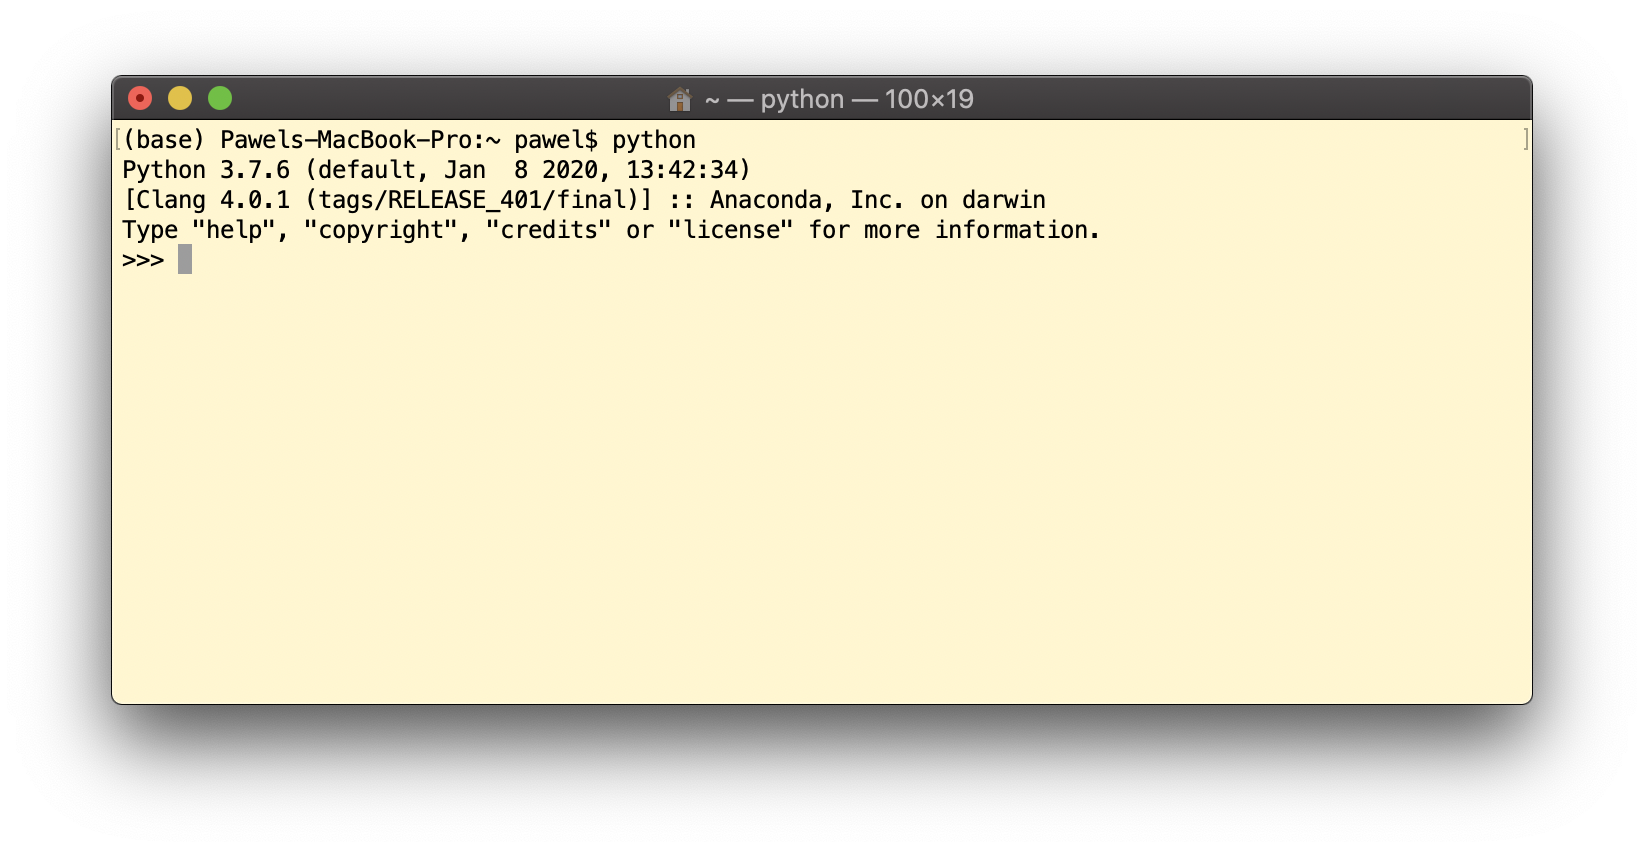
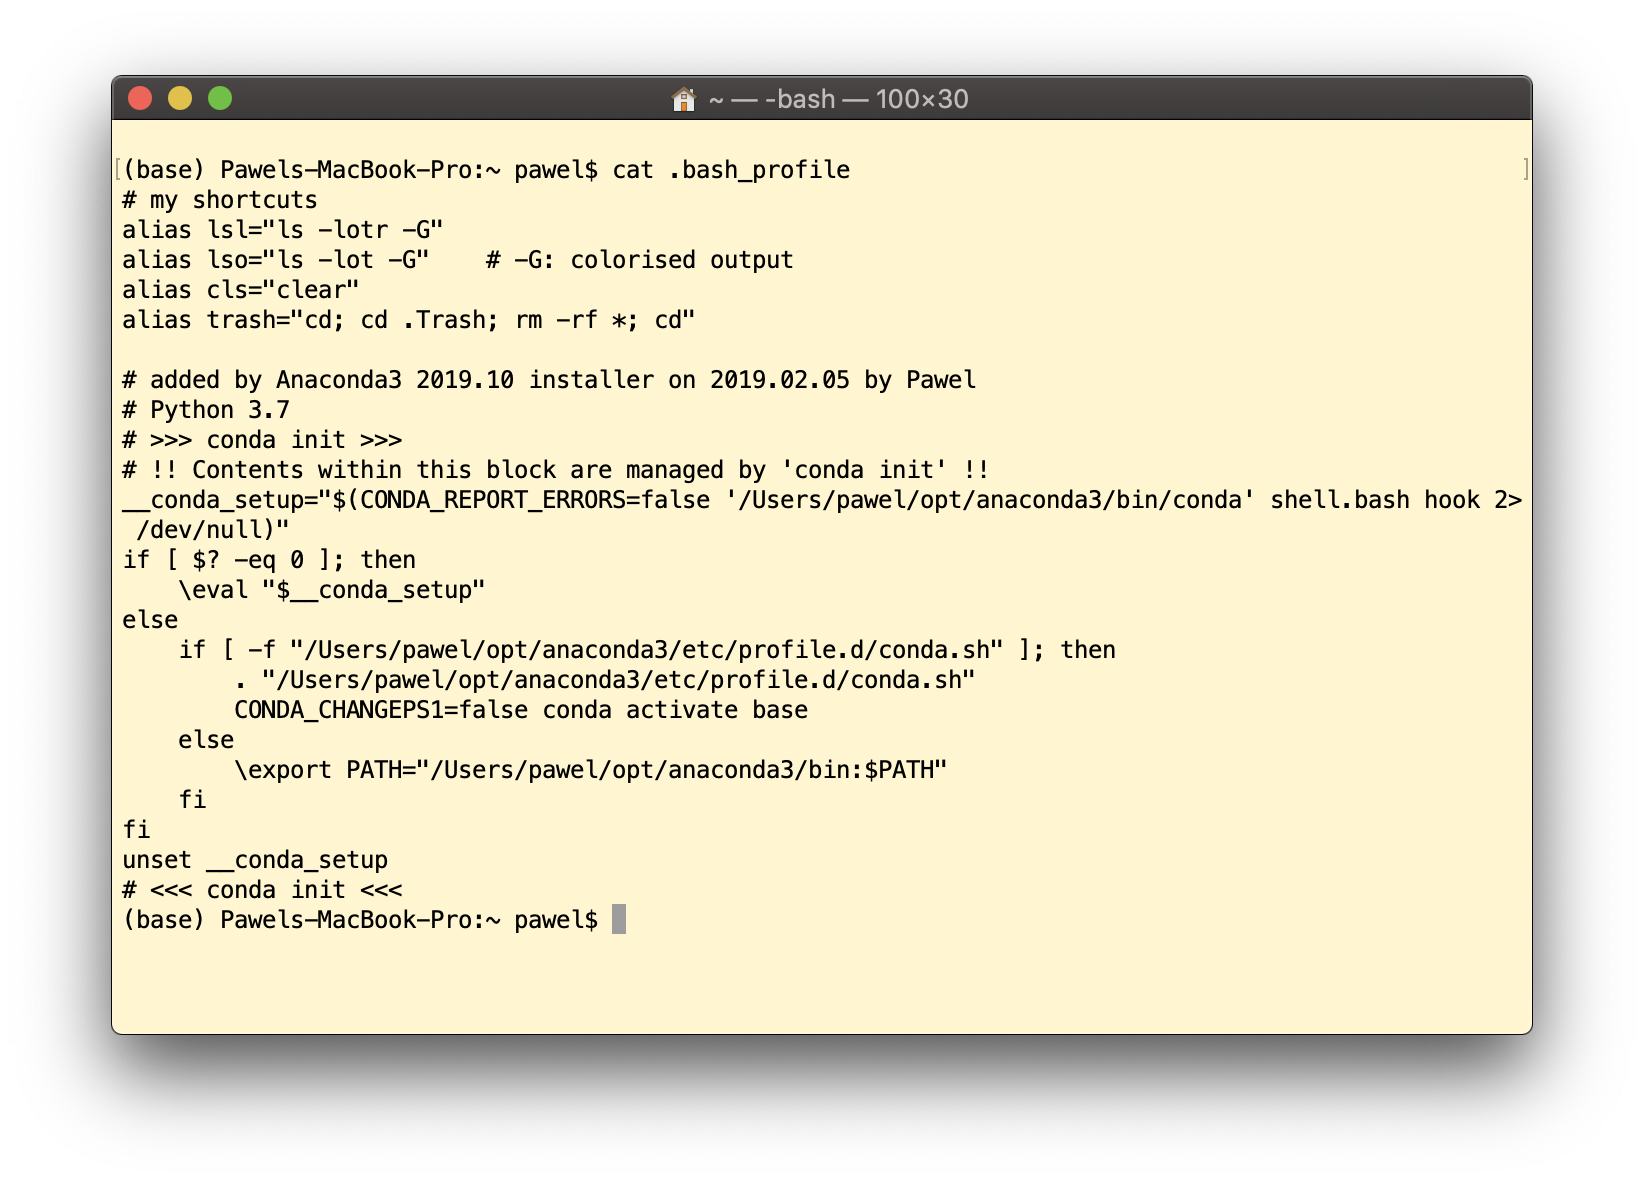 This initialises the environment every time you open a new Terminal window. From the moment, accessing Python directly is as simple as typing:
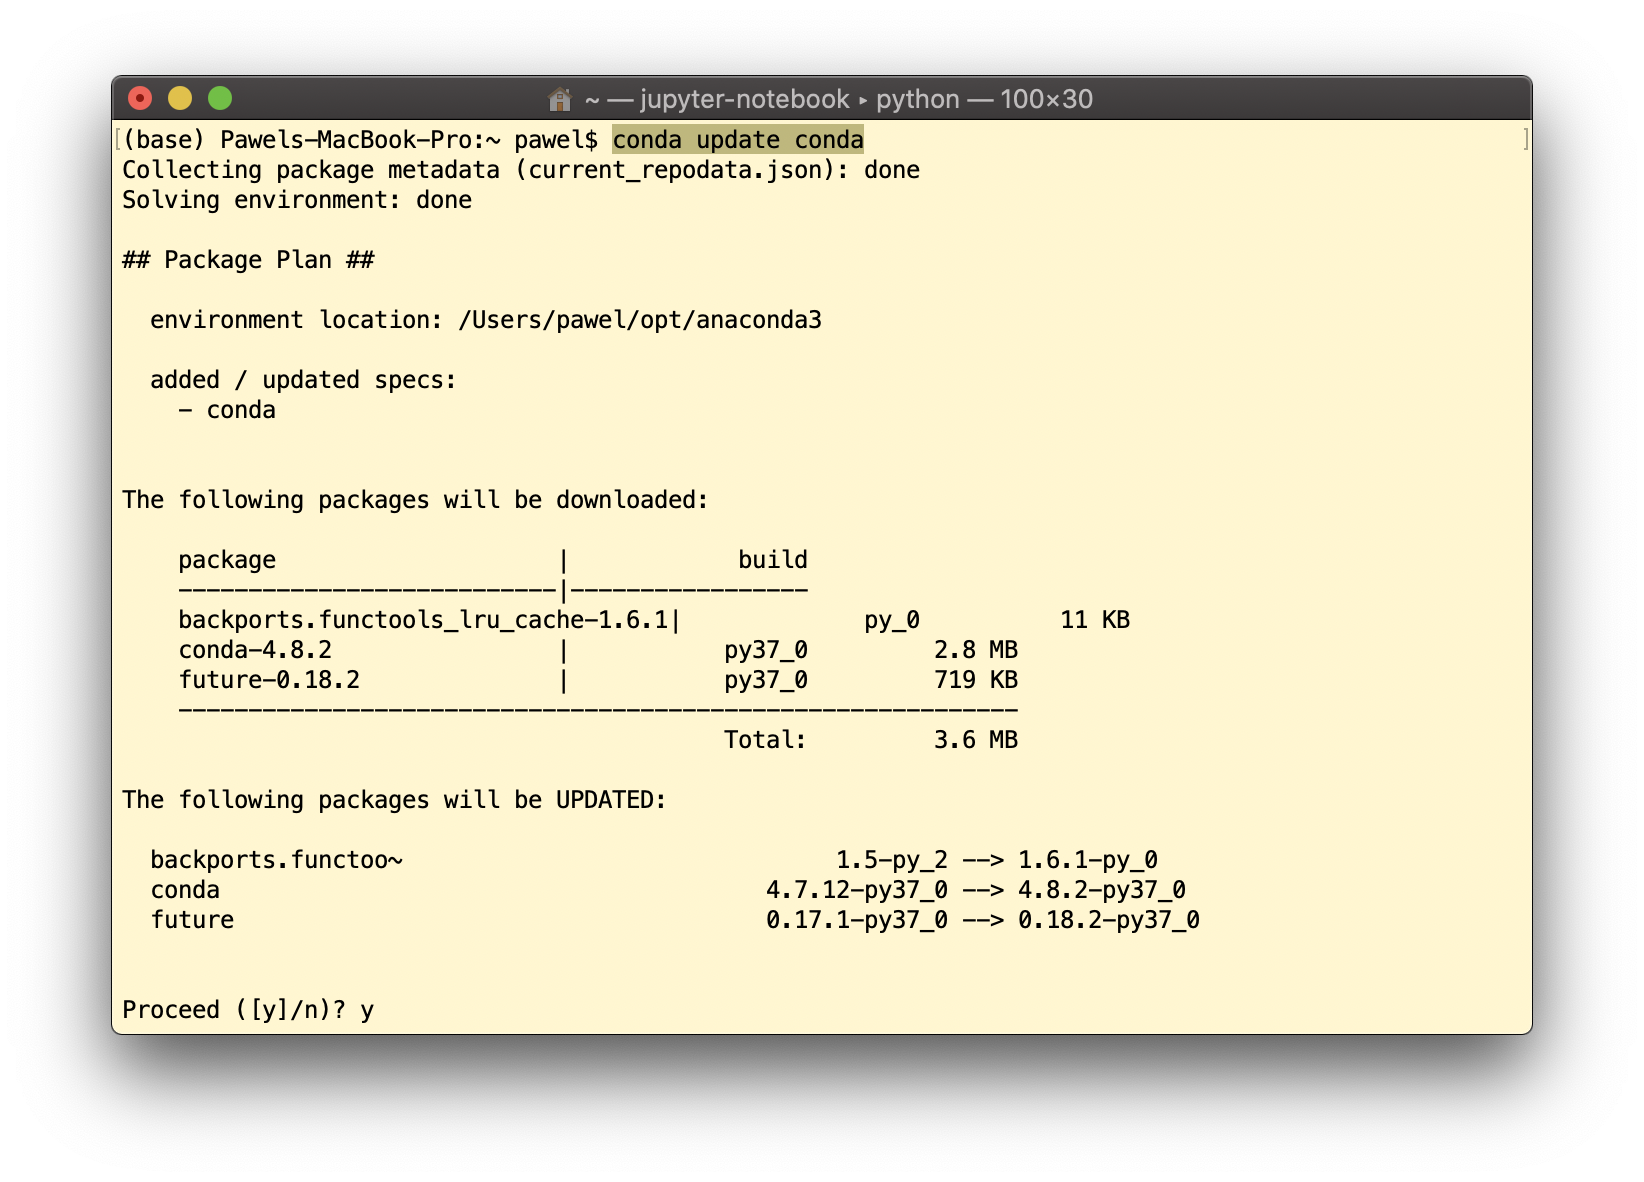
 Usually when you install the Anaconda Distribution (on some random day since its official release date), keep in mind that some packages and libraries which come along as default ones might require a refreshment. Start with
conda update conda
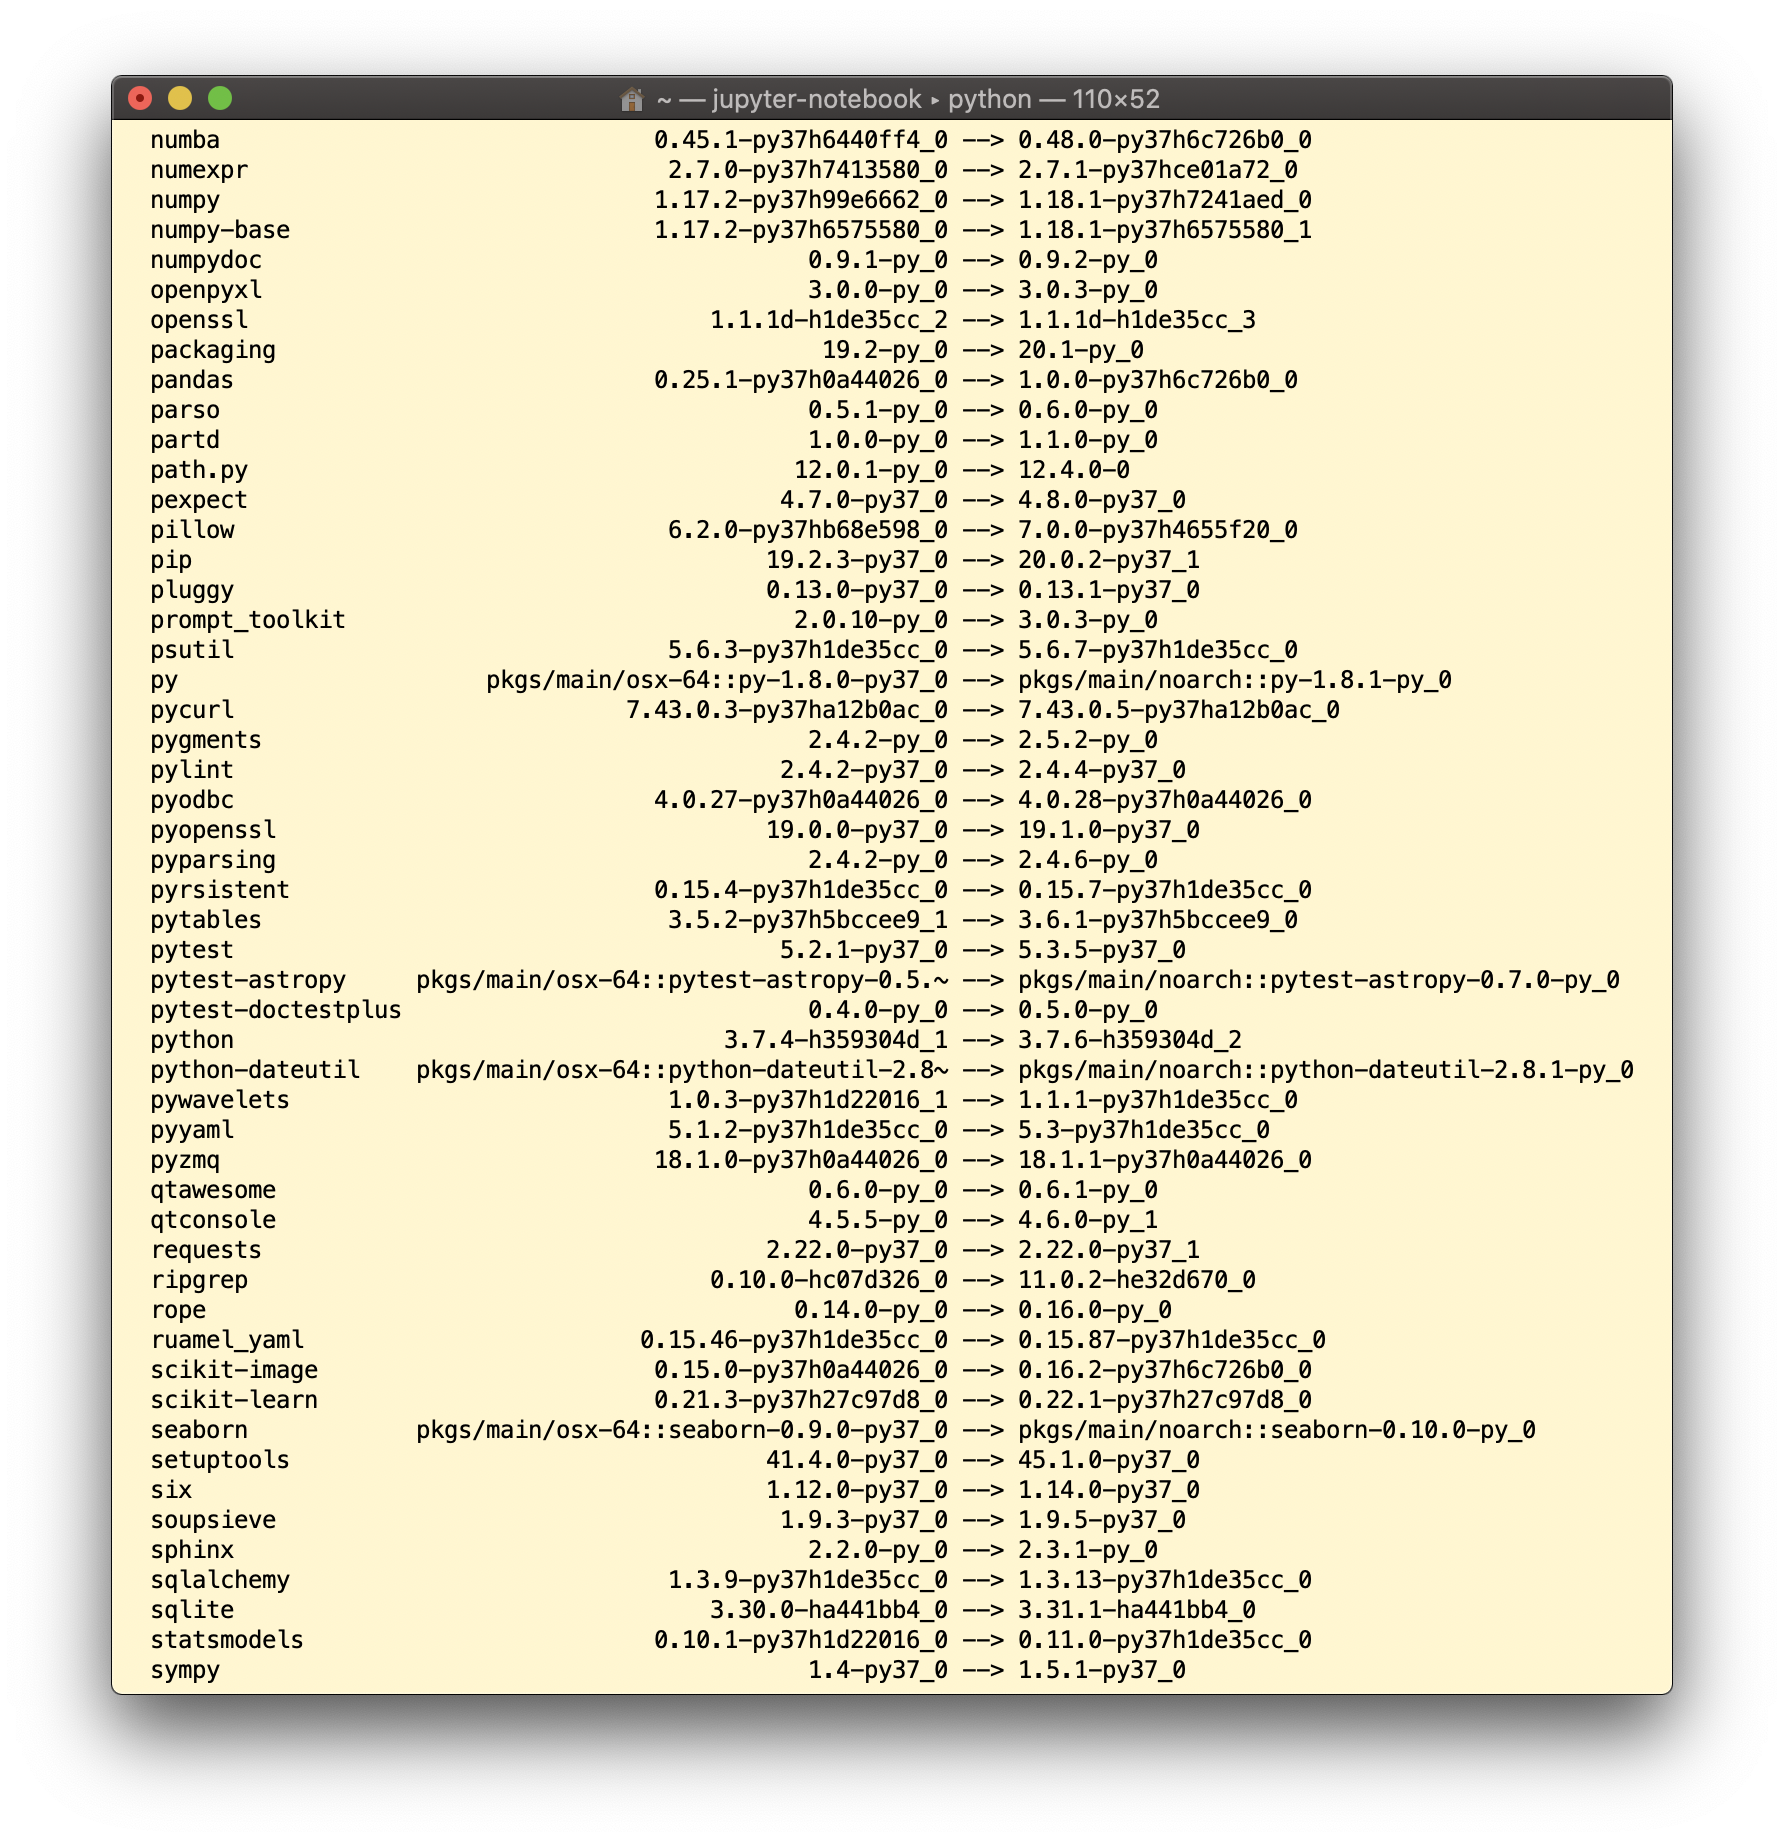
 Next, update all default libraries with
conda update --all
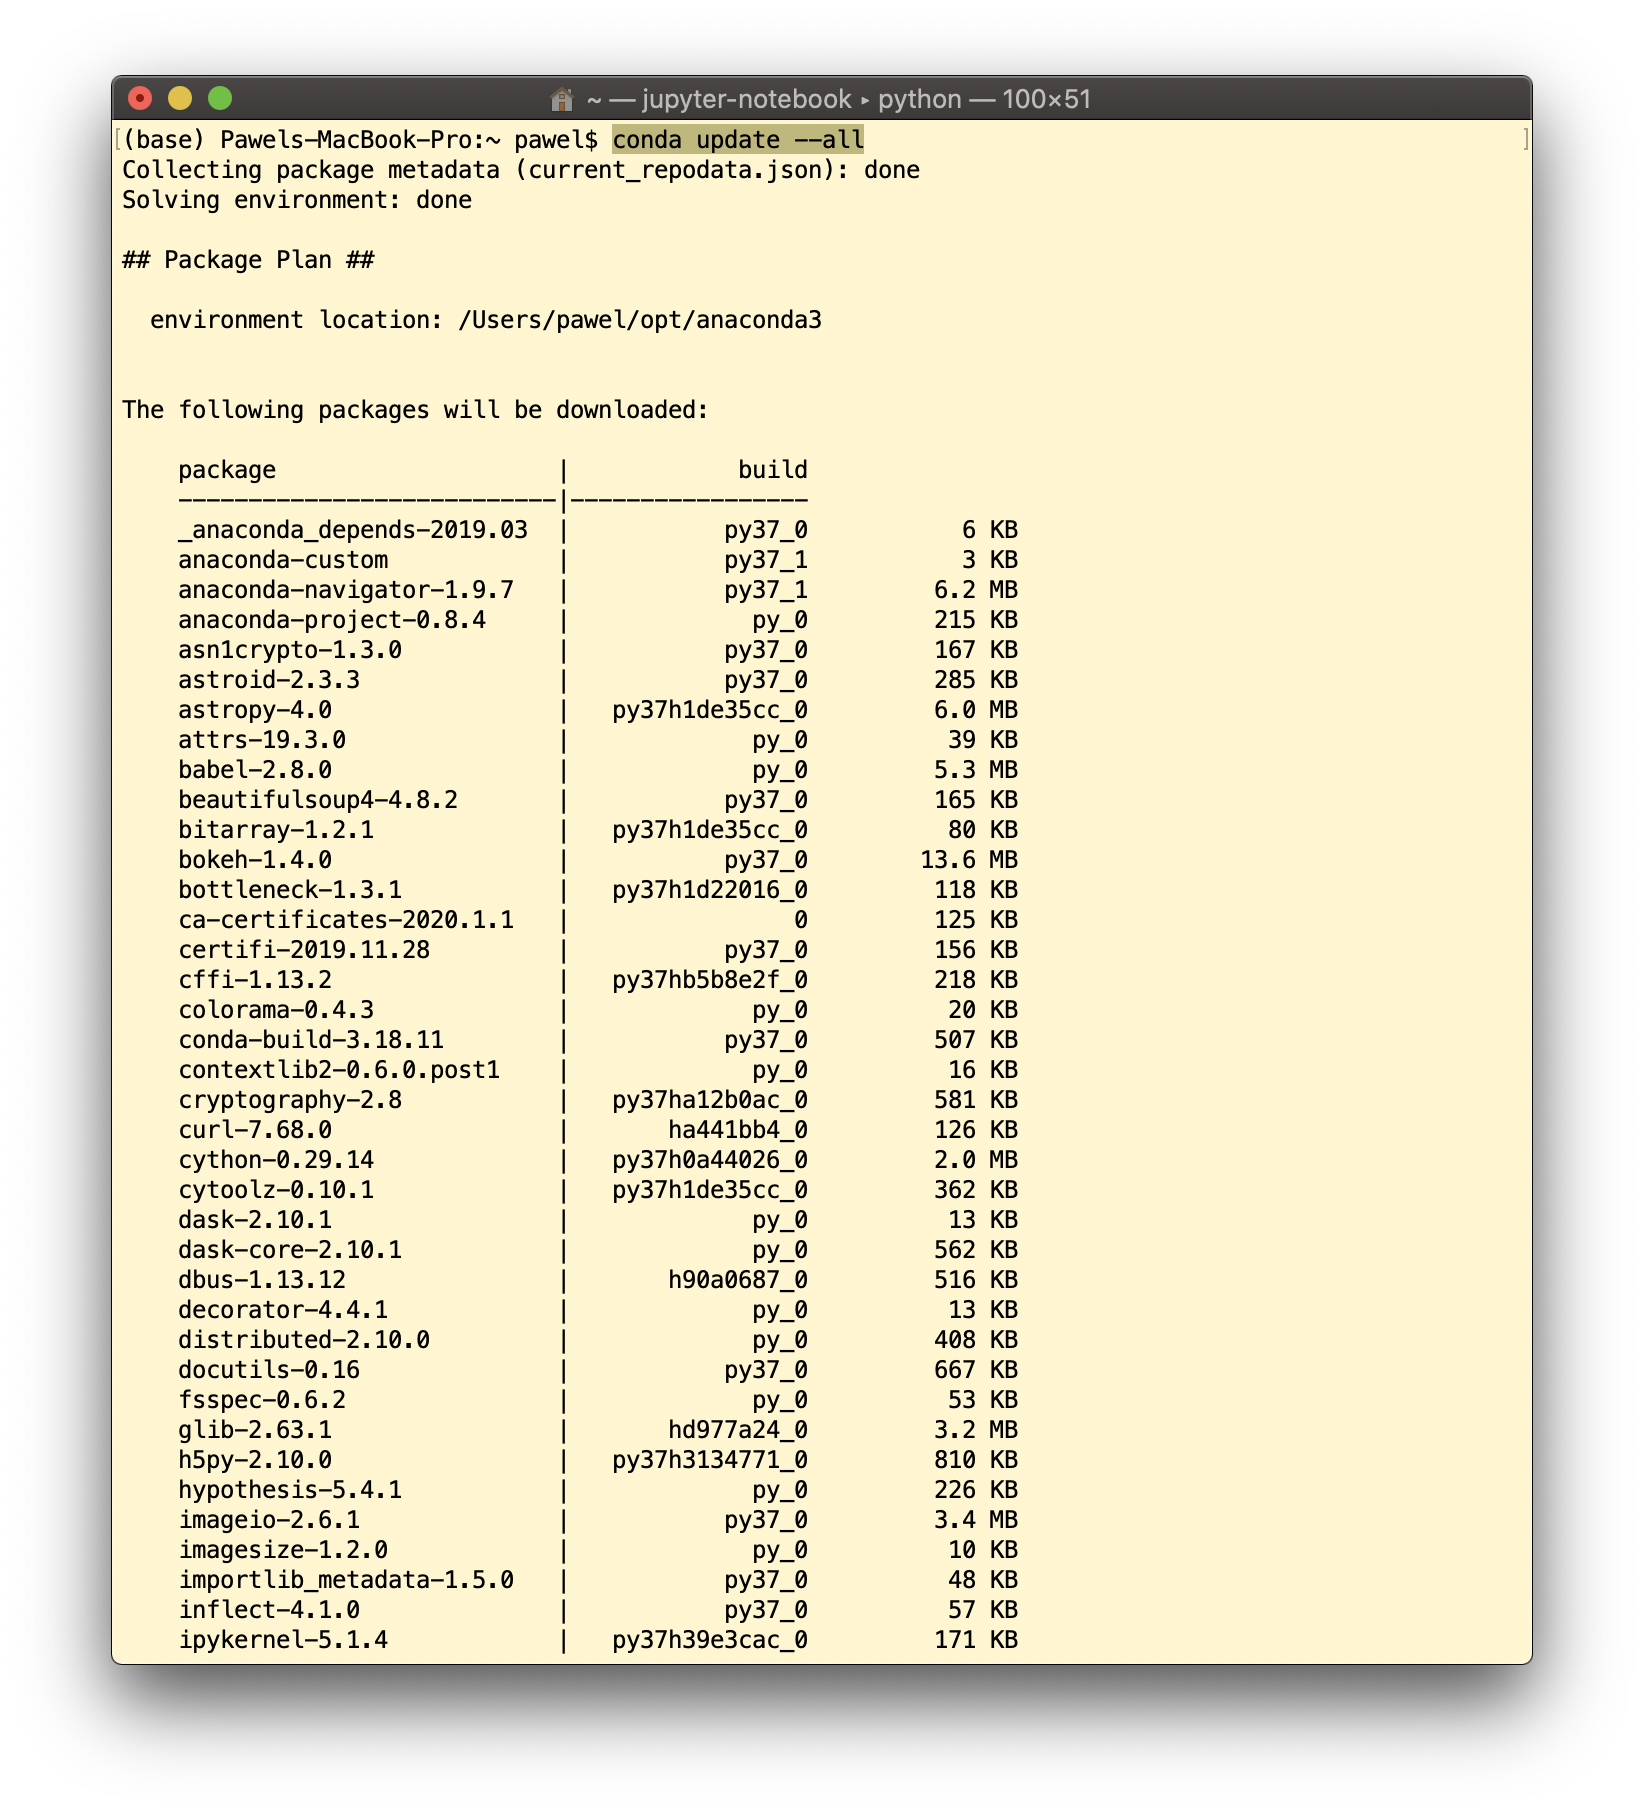 In that process you can notice which versions were originally built-in and to which version they will be upgraded:
 Anaconda Distribution provides you with a number of excellent libraries you can consider as fundamental ones. Make sure your “batteries included” contain:
numpy              # numerical computations
scipy              # additional numerical tools
pandas             # data processing
matplotlib         # plotting
seaborn            # fancy plotting
statsmodels        # statistical modeling
sympy              # symbolical computations
scikit-learn       # machine-learning
and keep them updated on a regular basis using conda update –all command.
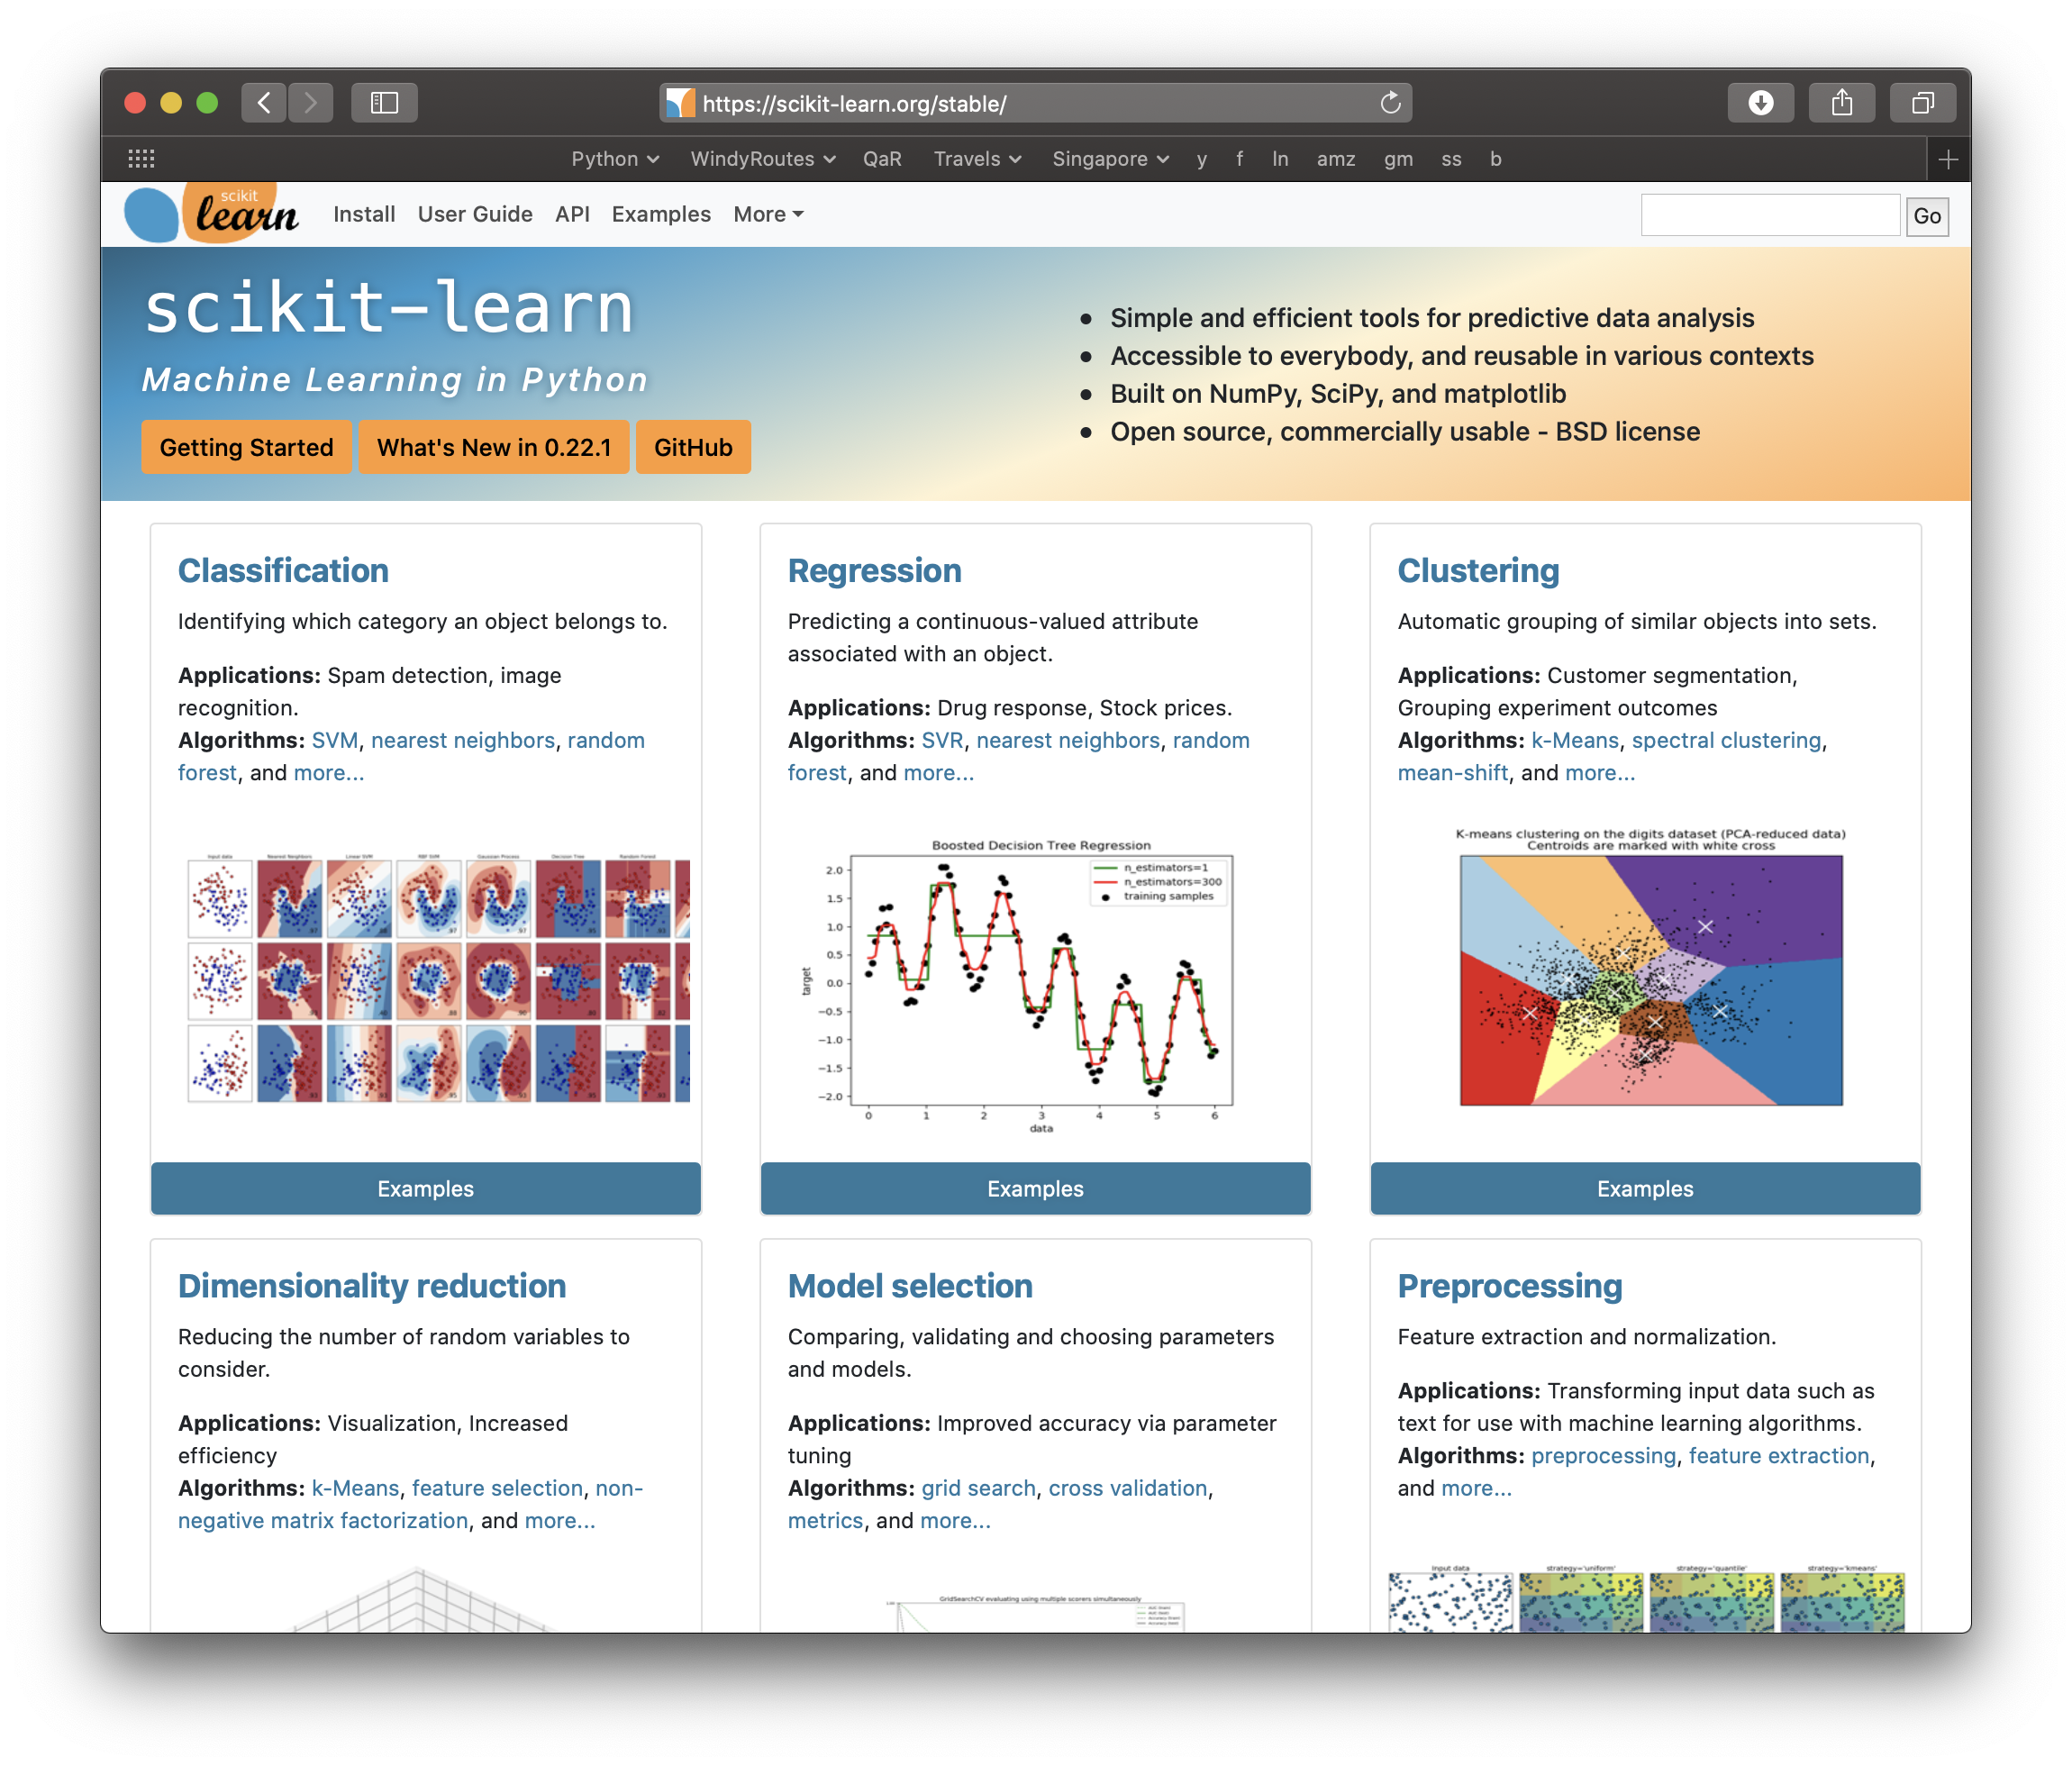
Regarding the above list of libraries, the last one there, the scikit-learn, is the mecca for all Machine Learning practitioners. If you wish to start your experience with ML algorithms, you will step into a wonderful world of AI simply by studying provided there elegant documentation and tonnes of valuable examples:
2. Install Keras and TensorFlow 2.1+
TensorFlow is an end-to-end open source platform for machine (and deep) learning. It has a comprehensive, flexible ecosystem of tools, libraries and community resources that lets researchers push the state-of-the-art in ML and developers easily build and deploy ML powered applications. Its use is a must step forward for all who dream to take your recent ML skills up to the next level. In its version 1.x, the use of TensorFlow for Deep Learning projects was a bit difficult due to pretty not-straightforward syntax and complex coding in Python. The team worked hard to provide a more user-friendly access to all TensorFlow goodies, including integrated modelling making use of Keras.
Before jumping into writing quantitative DL models, I sugest to make sure we will install the corresponding libraries correctly to make them an integrated part of our Python for Quants working environment. With Anaconda Distribution installed already in your computer, giving a try to execute the following command:
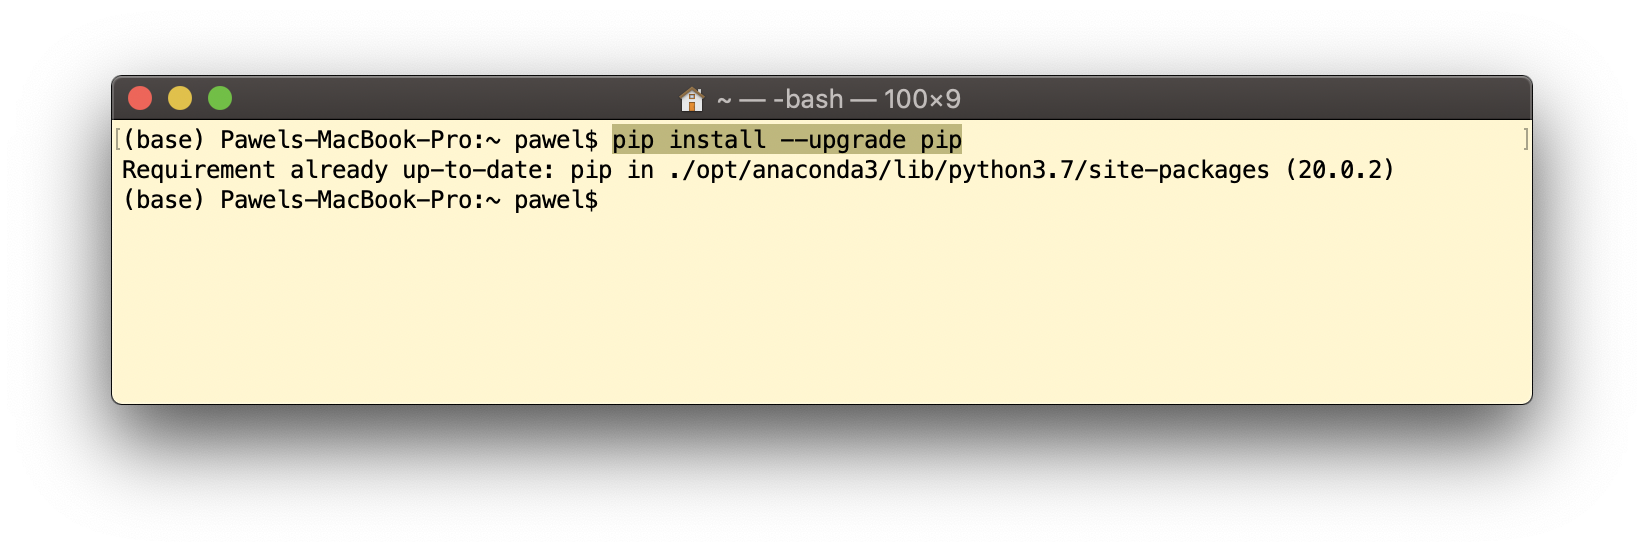
 reveals that Anaconda will attempt to install TensorFlow’s oldish version of 1.x.x. And this is not what we want. So don’t go this way. Instead, follow TensorFlow’s suggested 3-step installation process. First, upgrade your pip installer to version $>$ 19.x.x as a requirement by typing:
pip install --upgrade pip
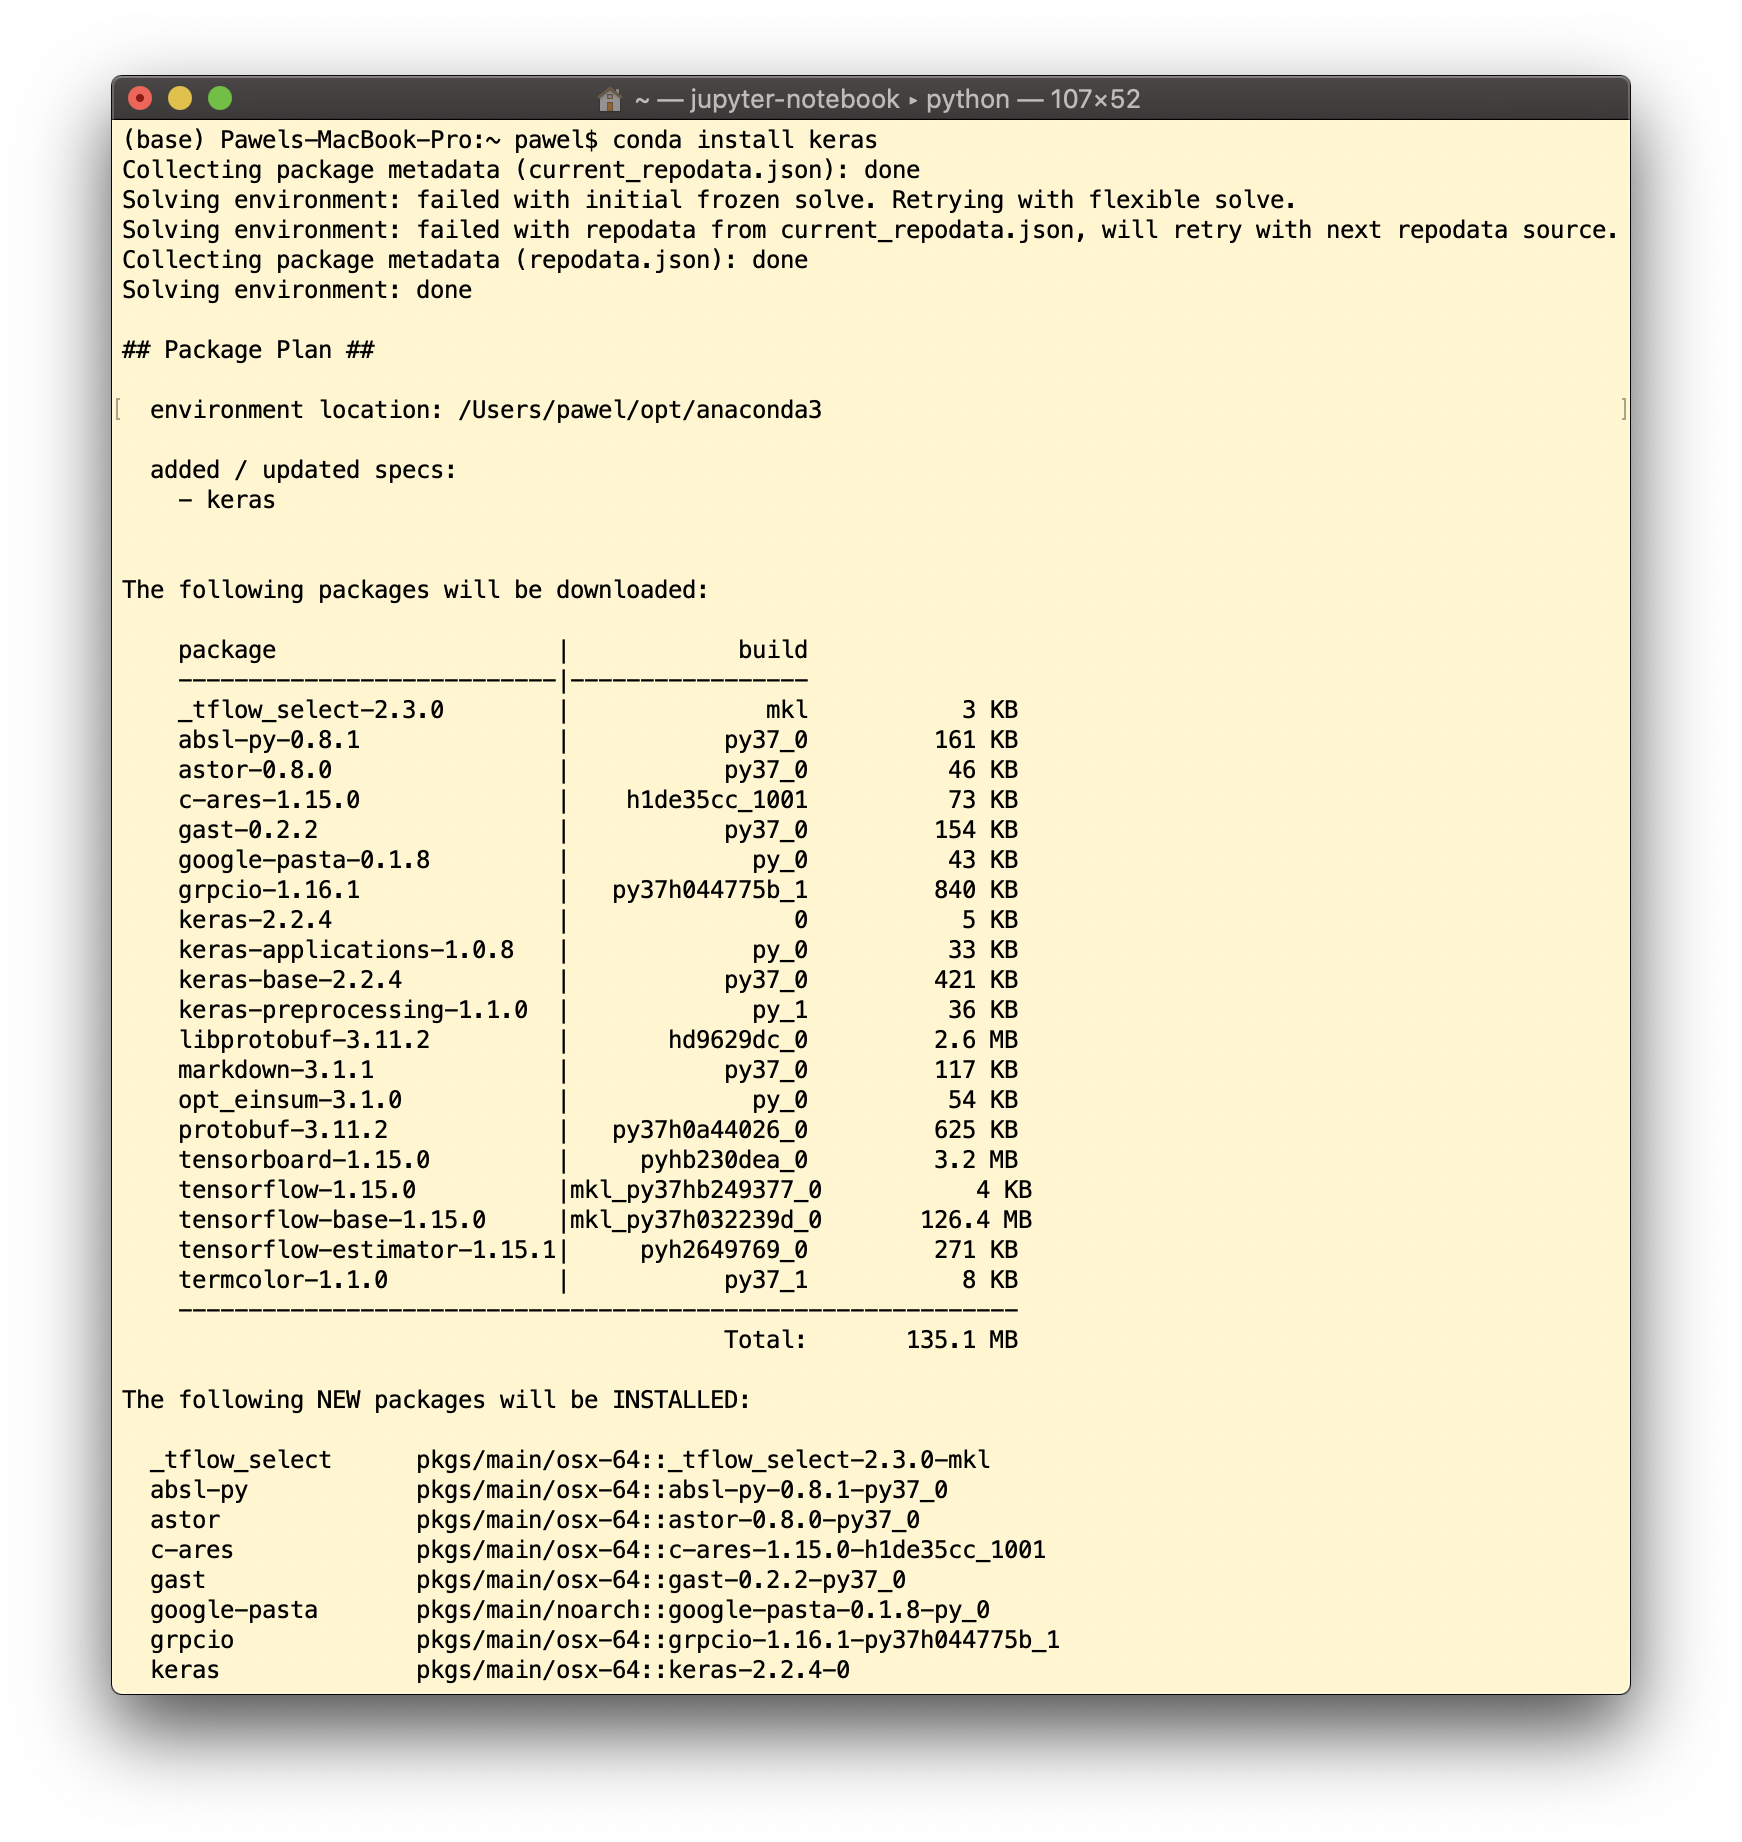
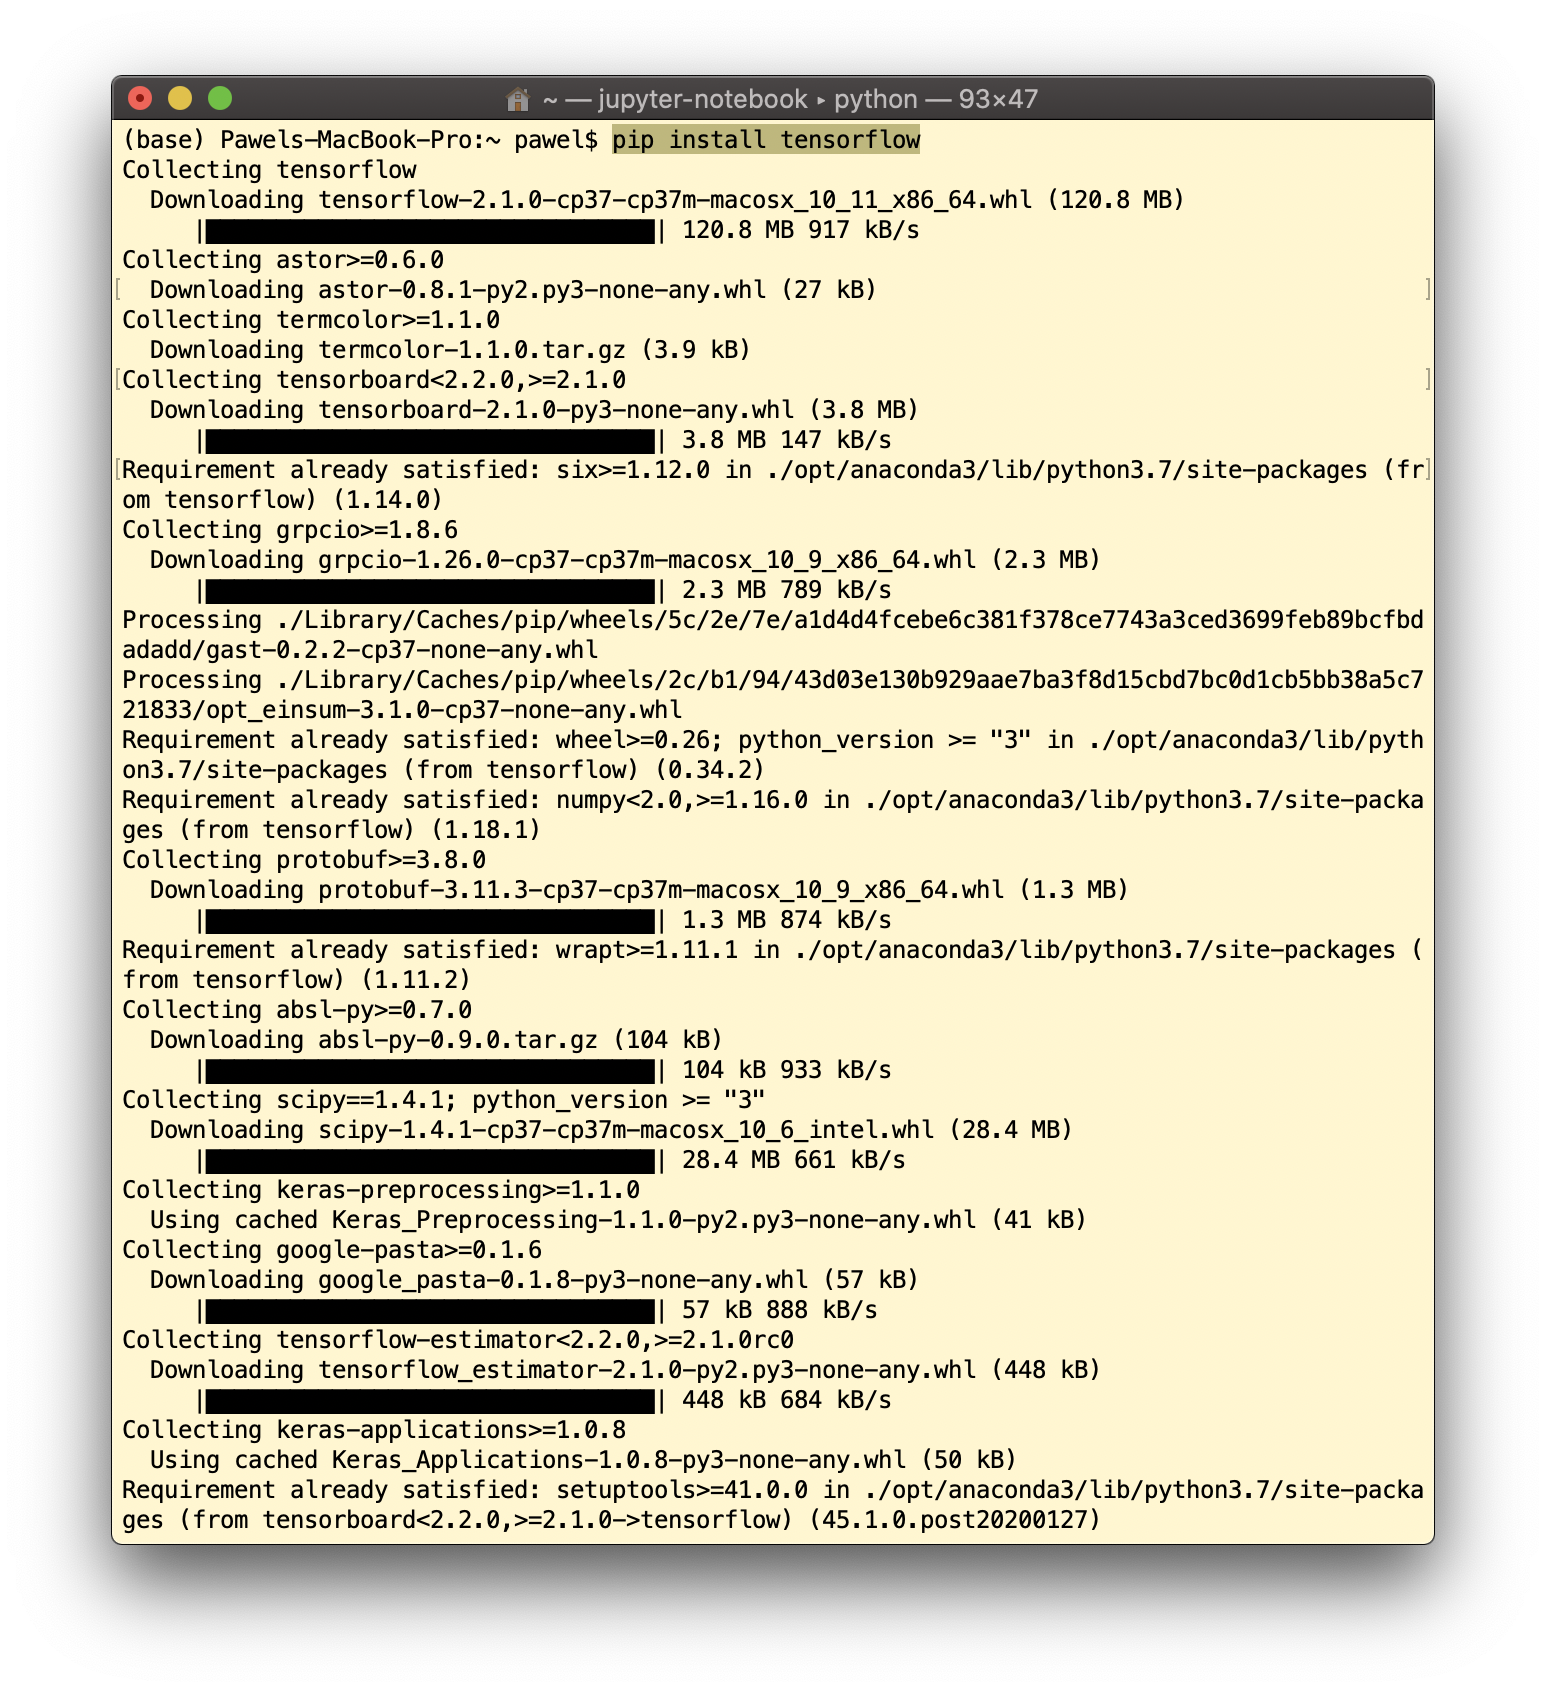
 Next, install the TensorFlow 2.0 and Keras by executing:
pip install tensorflow
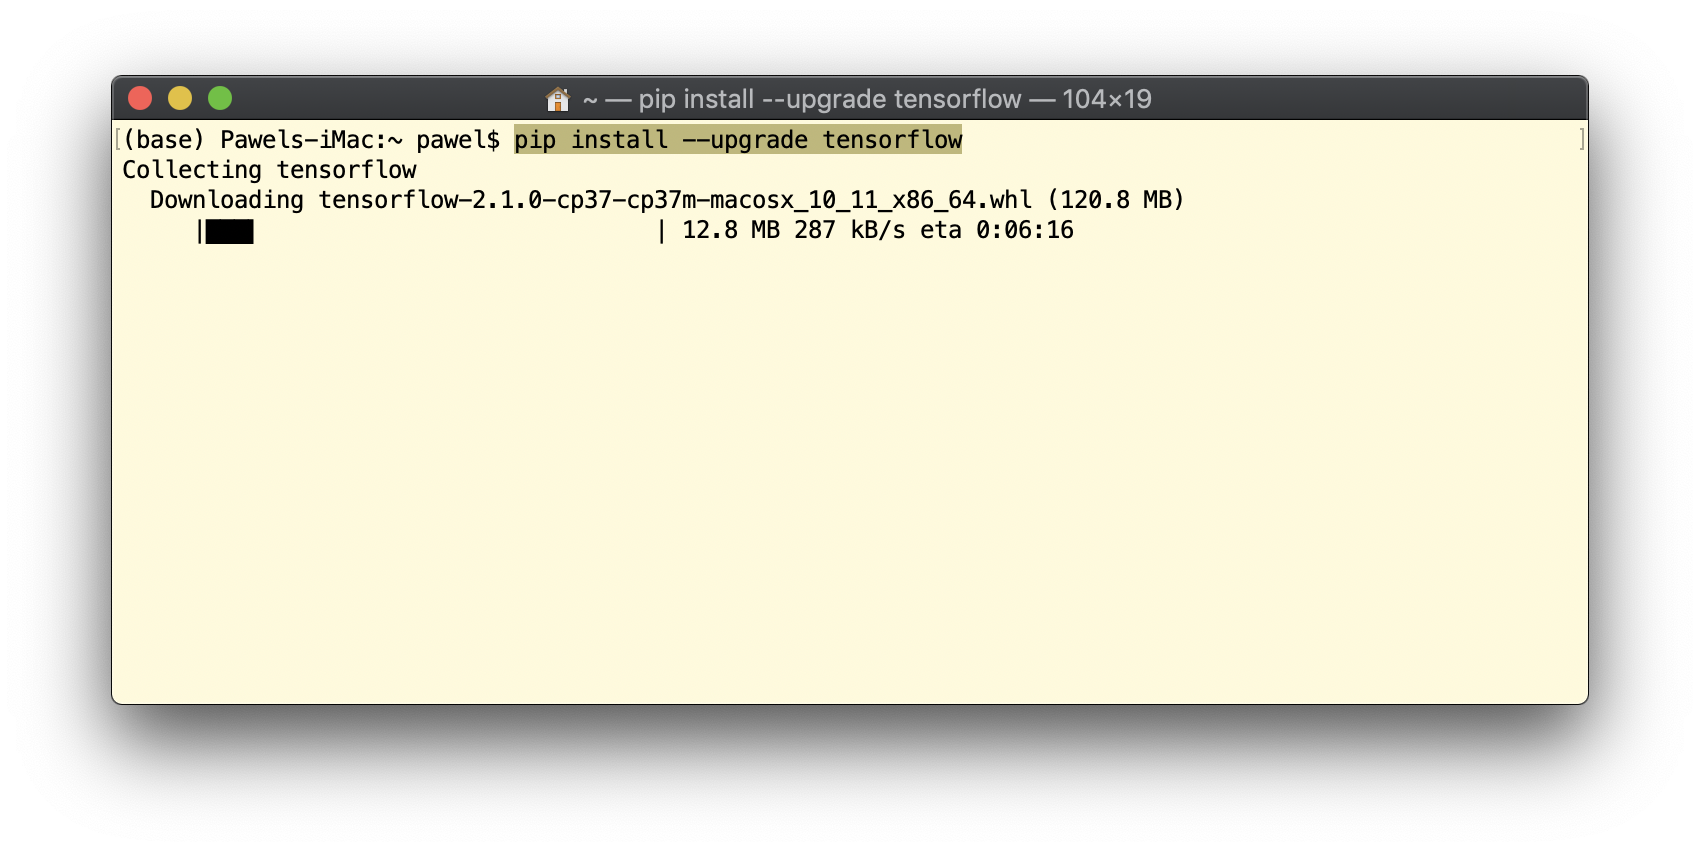
 If you find this command to fail, please try this one:
pip install --upgrade tensorflow
what should force the update:
 During the installation process, a few required libraries will be verified and upgraded automatically, e.g. numpy and scipy (which is always a good thing!).
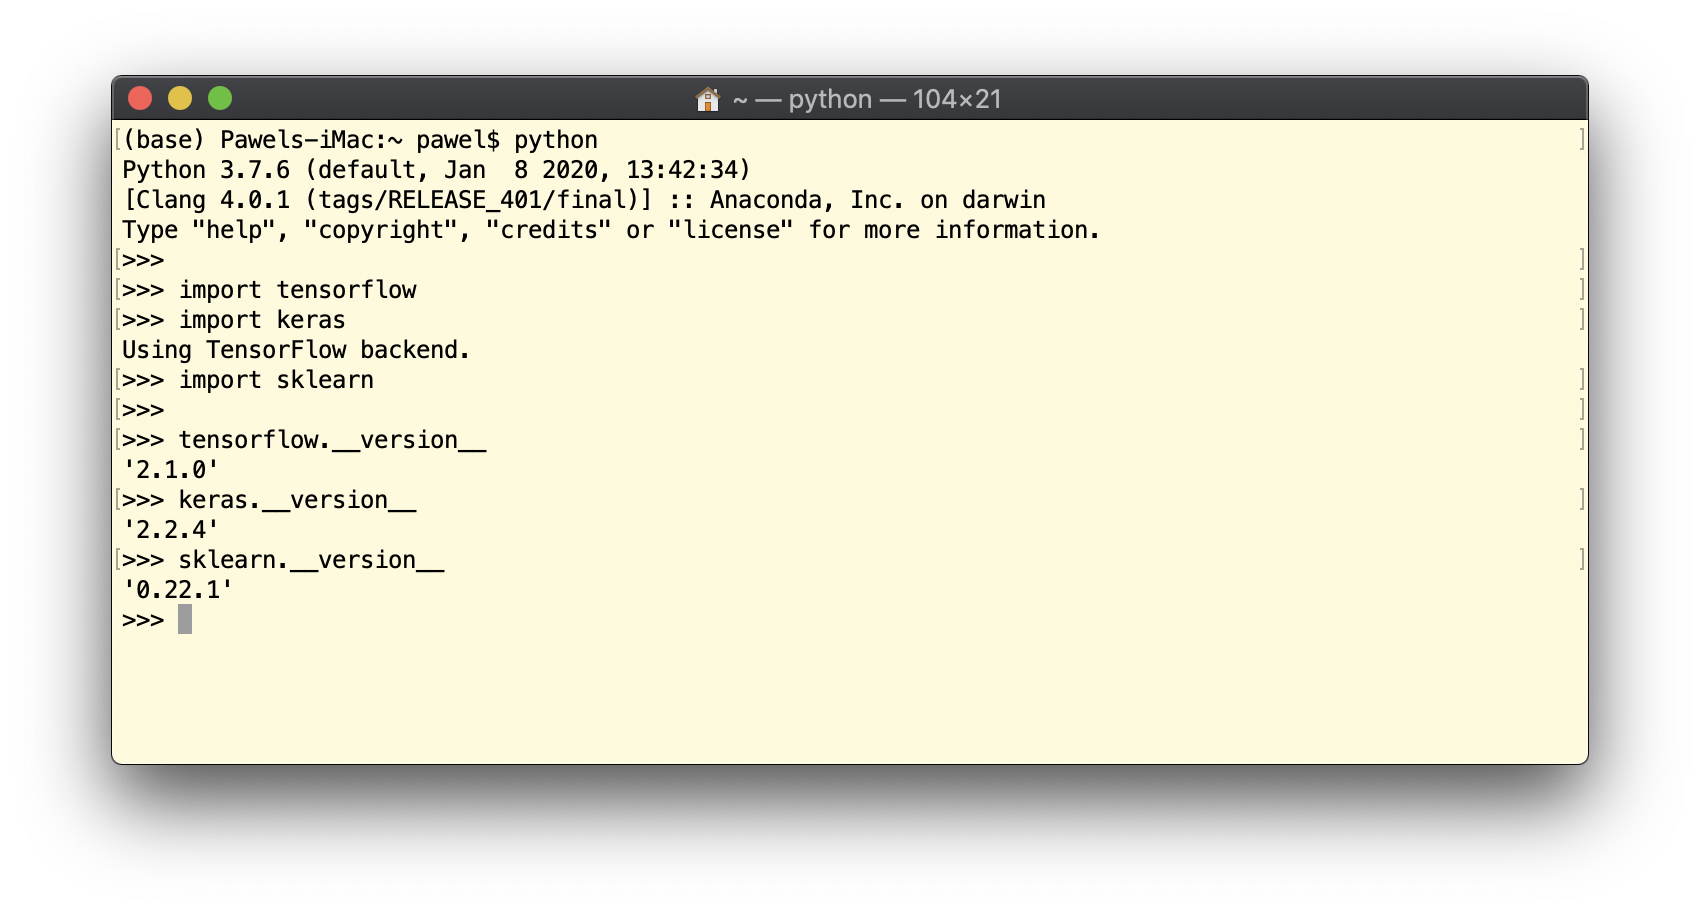
After all, you may check all available versions of installed libraries as follows:
3. Test your Code
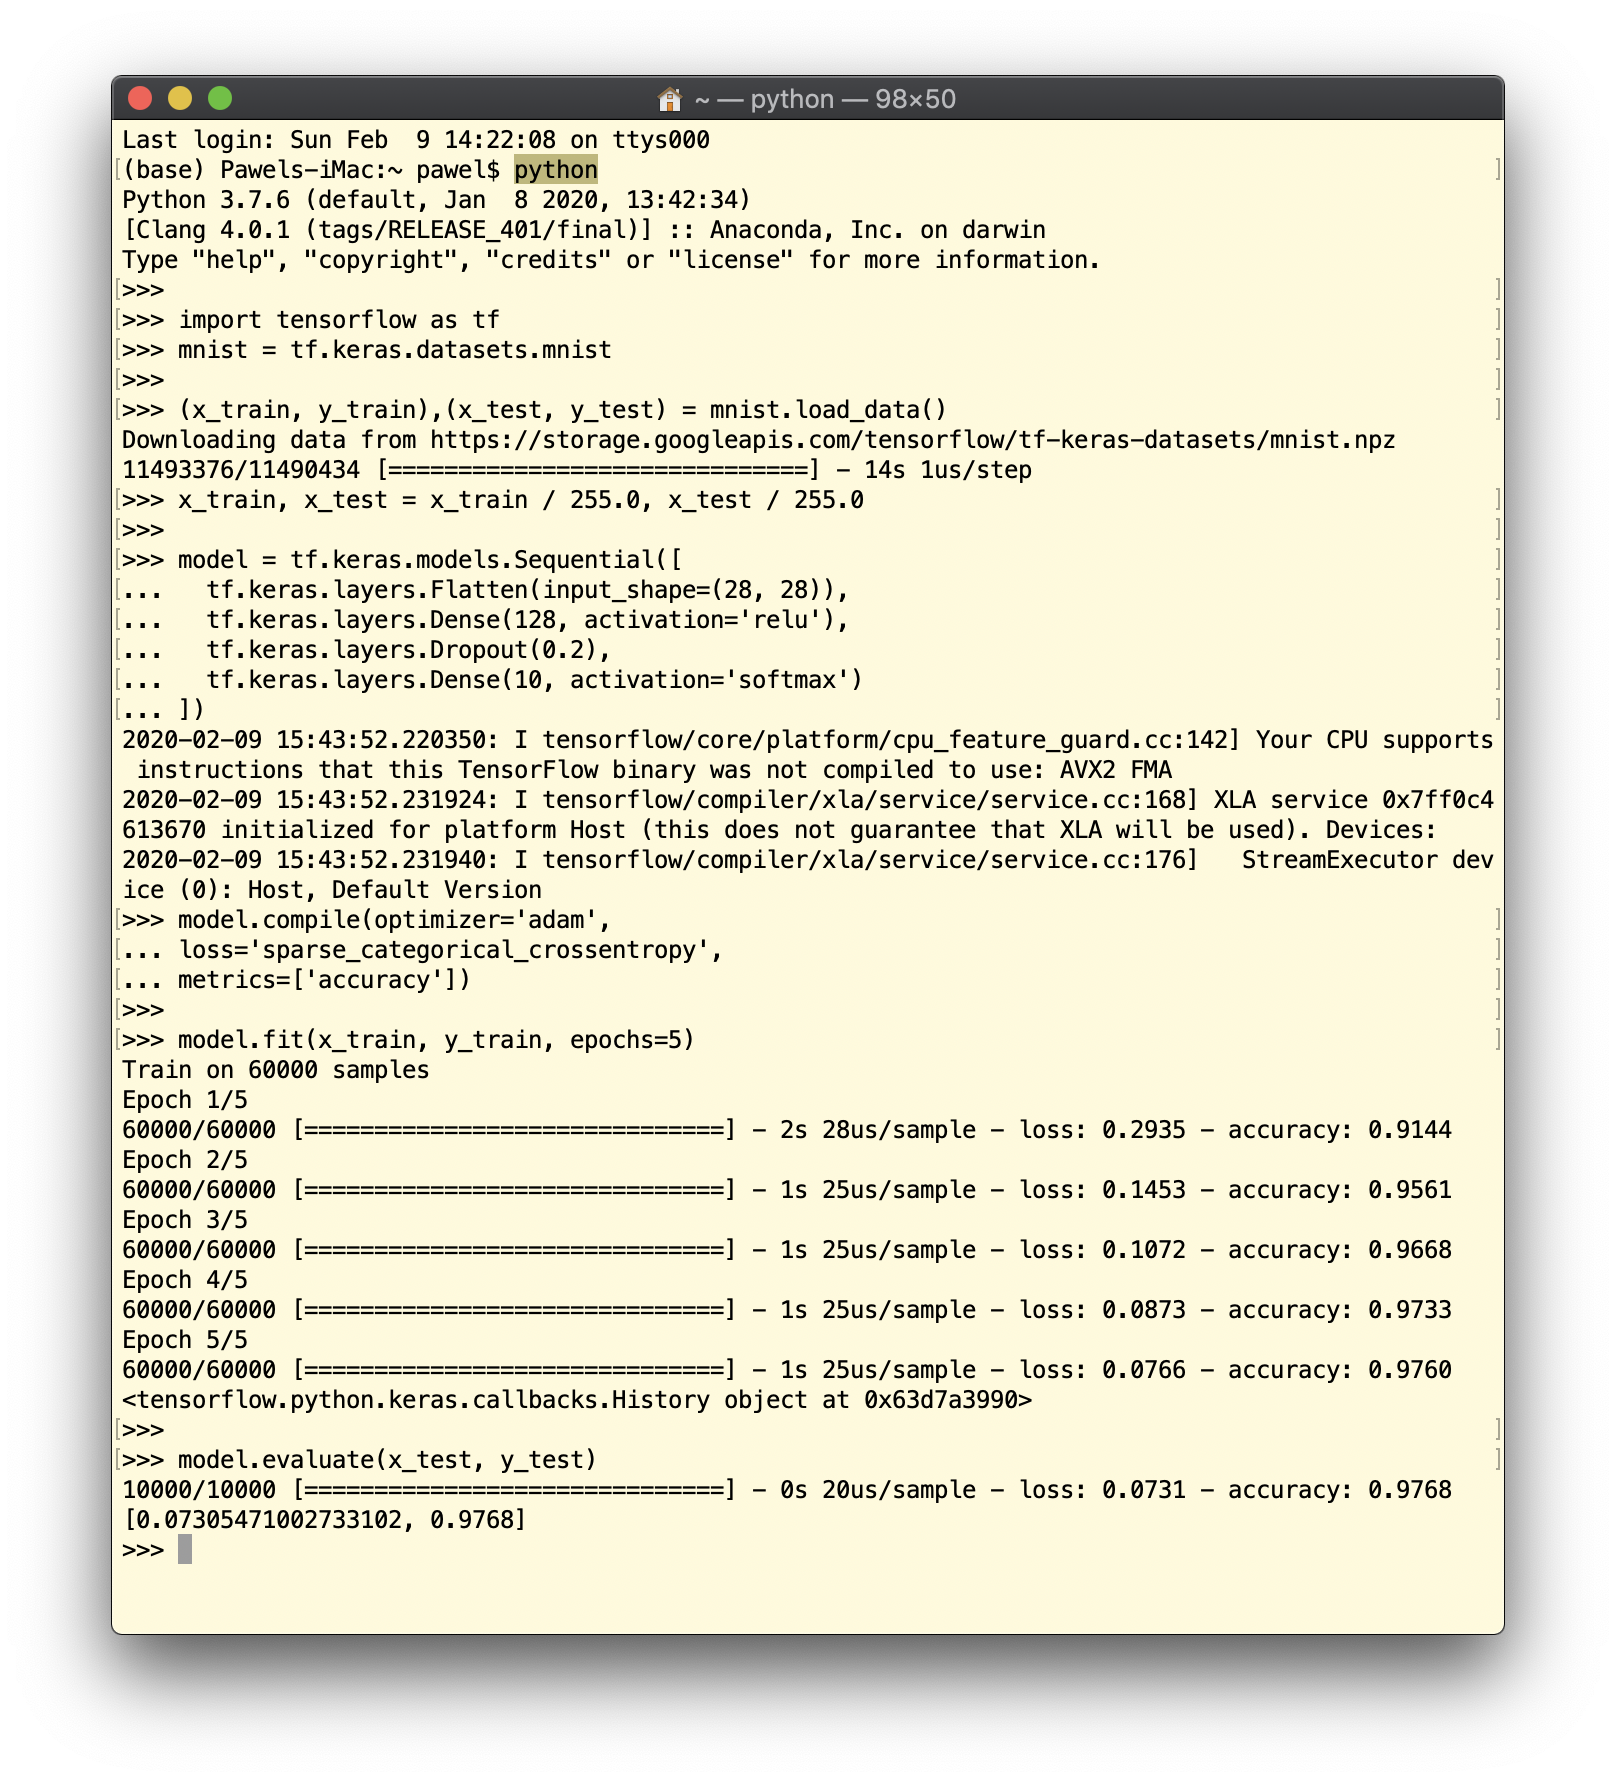
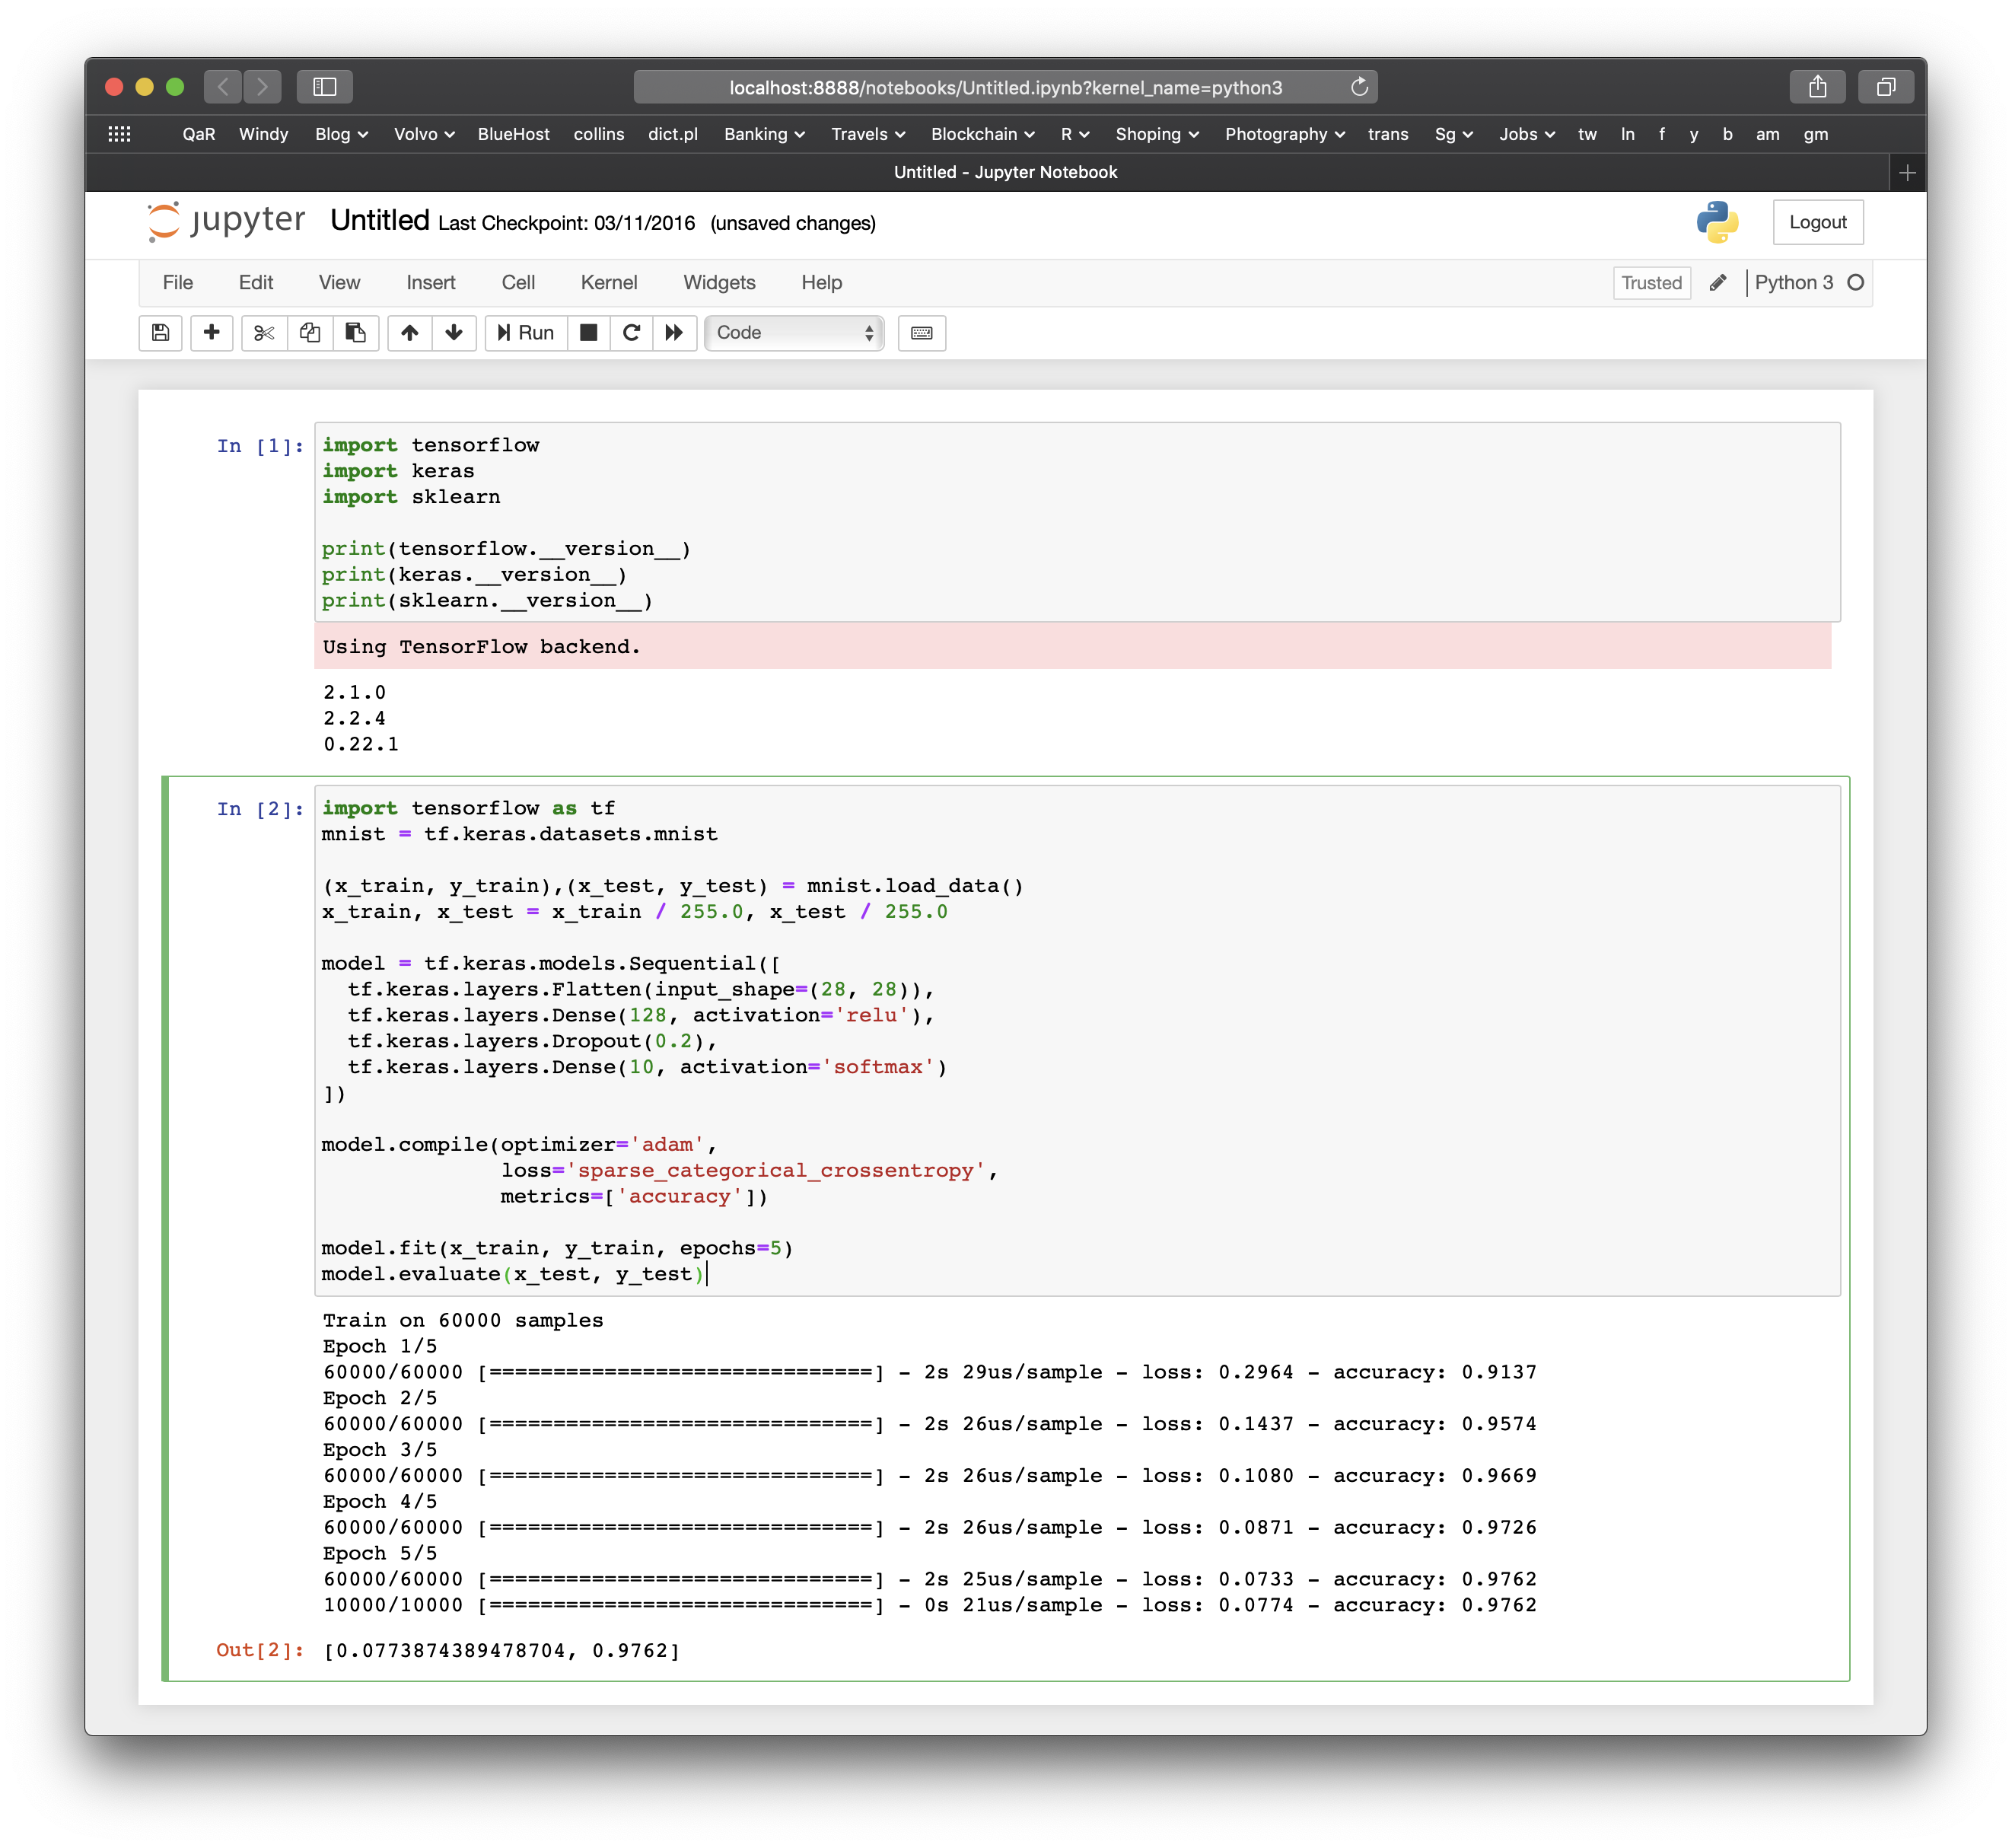
Once all seems to be set and up, the last remaining part is to make sure that indeed it is up and running. To do that, we can use an exemplary code from TensorFlow webpage (image classification problem) which goes like this:
import tensorflow as tf
mnist = tf.keras.datasets.mnist

(x_train, y_train),(x_test, y_test) = mnist.load_data()
x_train, x_test = x_train / 255.0, x_test / 255.0

model = tf.keras.models.Sequential([
  tf.keras.layers.Flatten(input_shape=(28, 28)),
  tf.keras.layers.Dense(128, activation='relu'),
  tf.keras.layers.Dropout(0.2),
  tf.keras.layers.Dense(10, activation='softmax')
])

model.compile(optimizer='adam',
              loss='sparse_categorical_crossentropy',
              metrics=['accuracy'])

model.fit(x_train, y_train, epochs=5)
model.evaluate(x_test, y_test)
You may test it out directly in the Terminal window:
 or as a part of Jupyter Notebook:
Please note that some Python codes making use of “pure” Keras implementation might not work or cooperate with TensorFlow 2.1+. For example, if you try to run the code taken from the following webpage:
# src: https://machinelearningmastery.com/tutorial-first-neural-network-python-keras/

from numpy import loadtxt
from keras.models import Sequential
from keras.layers import Dense

# load the dataset
dataset = loadtxt('pima-indians-diabetes.csv', delimiter=',')

# split into input (X) and output (y) variables
X = dataset[:,0:8]
y = dataset[:,8]

# define the keras model
model = Sequential()
model.add(Dense(12, input_dim=8, activation='relu'))
model.add(Dense(8, activation='relu'))
model.add(Dense(1, activation='sigmoid'))

# compile the keras model
model.compile(loss='binary_crossentropy', optimizer='adam', metrics=['accuracy'])

# fit the keras model on the dataset
model.fit(X, y, epochs=150, batch_size=10)

# evaluate the keras model
_, accuracy = model.evaluate(X, y)
print('Accuracy: %.2f' % (accuracy*100))
you will get an error message:
---------------------------------------------------------------------------
AttributeError                            Traceback (most recent call last)
 in
     13
     14 # define the keras model
---> 15 model = Sequential()
     16 model.add(Dense(12, input_dim=8, activation='relu'))
     17 model.add(Dense(8, activation='relu'))
...
AttributeError: module 'tensorflow' has no attribute 'get_default_graph'
With a continuous evolution of both DL libraries, their interactions and interrelationships also tend to change. In case of the abovementioned error, an easy fix of:
from tensorflow.keras.models import Sequential
from tensorflow.keras.layers import Dense
allows to run this DL model using Keras implementation with TensorFlow 2.1+ backend.
Summary
In this Part 1 of Deep Learning for Quants series we have gone through the process of setting up your Python working environment ready for ML/DL adventure. I allowed myself to use MacOS/Unix OS as an example. However, if your OS is Microsoft Windows or Linux, the above instructions apply as well. Just install Anaconda Distribution for Windows/Linux and follow all steps as presented in this post.
Keep in mind that a good practice (in many situations) is to setup your Python in a virtual environment. The benefit is that you may install Anaconda Distribution in a few independent “universes” with different setups or purposes. If you would like to learn more on how to do that, visit this website. The virtual environment pays off especially if you work in a company where your ‘write’ access on a local hard disk is limited by the system administrator but you would like to keep you Python libraries up to date without bothering your admin to do it for you.
1 comment